| << Garage construction ガレージ工事 PART 3 2023-08-07 | Garage construction ガレージ工事 PART 5 >> 2023-09-10 |
今週の作業はガレージのフレームです。フレームは2x4と2x6木材で作りますので、作業は早いでしょうね?
This week I've been working on the wooden frame of the garage building! The frame is made of sturdy 2x4s and 2x6s, and with plenty of pre-planning it came together pretty quickly.
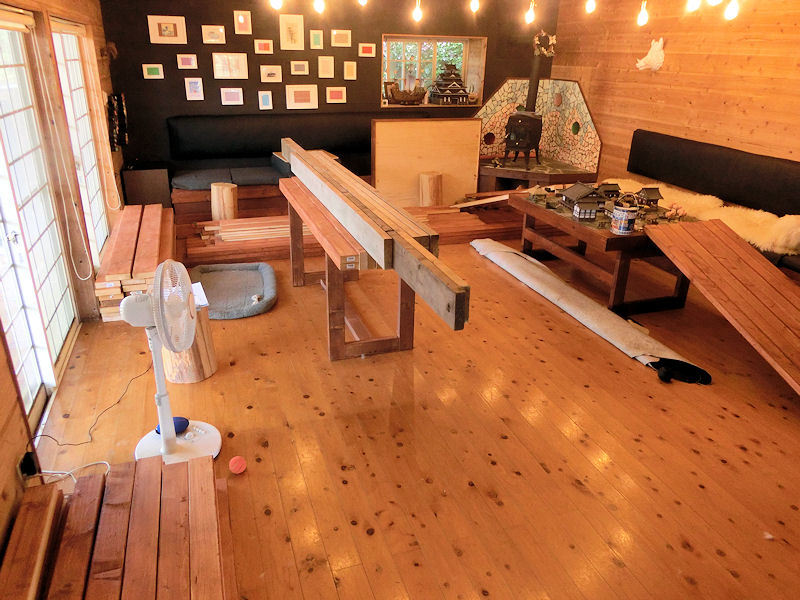
▲ まずはウッドステインで塗ります。ちょうど台風が来ていた3日間は1回のスタジオで一所懸命ペイントしました。
There was an early typhoon looming large in the area for 3 days, so I spent those 3 days downstairs in a really messy studio, painting red-brown woodstain onto all the pieces of wood that would make up the frame.... and also onto the floor, and my hands and feet!
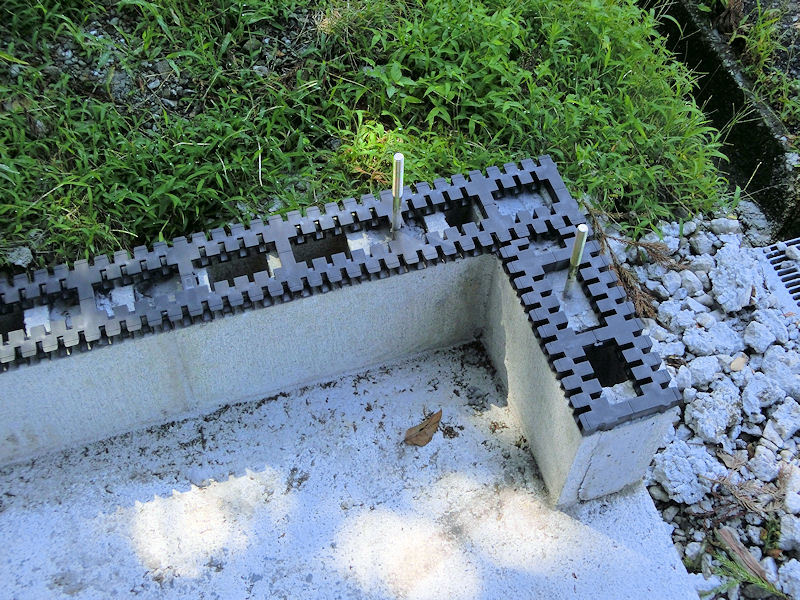
▲ ブロック壁のベースと木造フレームの間に入れる「基礎パッキン」をブロックの上に載せました。
With the typhoon safely passed and the wood all prepared, I moved outside to start the frame build. The first thing to do was place strips of these heavy-duty plastic bumpers on all the concrete base walls. They add an extra layer of water protection and ventilation to the garage, and are a pretty cheap investment.

▲ そして、ブロックのコンクリートに差し込んだボルトをフレーム位置を載せてみました。ぴったりでした!ちょっと嬉しいですね。
Drilling holes for the wall bolts to fit into the frames, I was gratified to find that everything fit very snugly, to within one or two millimetres. Yay!

▲ フレーム自体は7つの2x6箱で作っています。その箱の中に2x4材で強化しました。
The wall frames are comprised of 7 sections, so I started cutting and screwing together the first section from thick 2x6 beams. The thinner 2x4s make up the internal supports and beams, to give each section greater strength.
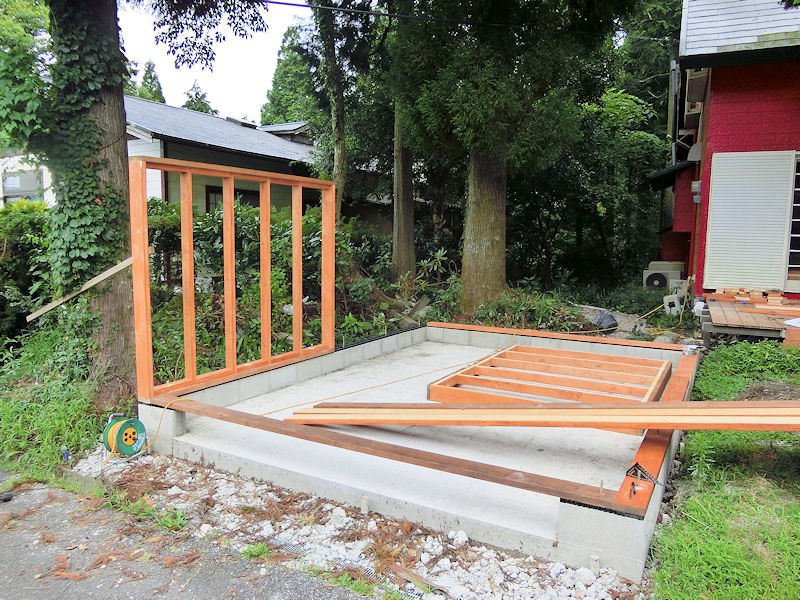
▲ 1個目のフレーム箱を基礎につけた時には倒さないように杉にとりあえず繋ぎました。
My friendly neighbour Teru kindly leapt out of his car as he was passing, and helped me lift the first of the sections on to the wall bolts! Just to make sure nothing fell over on my head, I screwed a spare piece of wood to the frame and the closest tree.
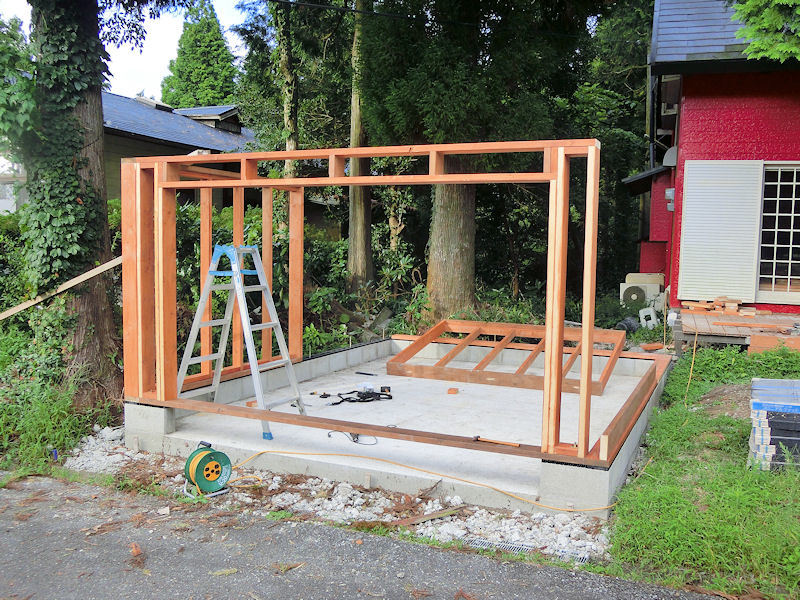
▲ 入口のフレーム箱を載せたときに一番下の補強もついていますが、全部つながったら切ります。
The front wall is the largest of the wall sections, and includes a long rigid beam at the bottom to ensure everything is straight. I'll be cutting out that beam once all the other sections are in place and lined up.

▲ そして、一個づつでフレーム箱を載せました。
Then it was just a process of creating each of the wall sections and lifting them into place one by one.

▲ 3日間後にフレーム自体が完成しました!
After three mornings of work, all seven of the wall sections were complete, and I could start tightening up the connecting bolts to make the frame rigid.
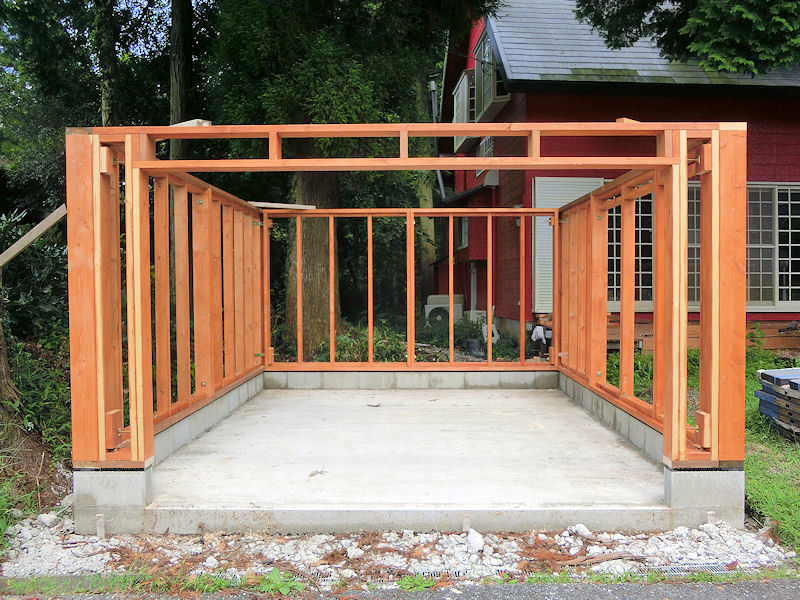
▲ 建物っぽくなったでしょう?
It's starting to look like a real building now, yes?
今回の予算は13万円でしたが、基礎の型で使った木材を再び利用できましたので、ちょっと節約できました。
2x4と2x6木材: 95,035円
ネジと金具: 6,341円
ステイン: 3,659円
合計: 105,035円
The budget for this step of the build was 130,000 yen, but I was able to save a little money by reusing some long beams from the foundation's concrete frame.
2x4s and 2x6s: 95,035yen (wow, prices are still sky high!)
screws and fixings: 6,341yen
woodstain: 3,659yen
Total: 105,035yen
| << Garage construction ガレージ工事 PART 3 2023-08-07 | Garage construction ガレージ工事 PART 5 >> 2023-09-10 |
〒869-2226 熊本県阿蘇市乙姫2070-48
Aso City, Otohime 2070-48
Open from 13:00~17:00*
Fridays & Saturdays
(* if the door's closed, we might have popped out to walk the dog... back soon!)


Painted models available 塗装済の模型発売中!
Making garage doors ガレージの扉DIY作成
New side-project... a hobbit house! ホビットの家
Shops added to the shop ショップにお店
Repainting a (mini) car ミニカーのリペイント
Buying land in Otohime 乙姫で土地探し
Scale model of the Inaba Residence 稲葉家下屋敷の模型