| << DIY Bathroom #4 DIYでバスルーム FINISHED! 2021-03-04 | Reading nook 玄関で読書スペース >> 2021-03-09 |
▲ キッチンとバスルームがやっとリフォームできました。ということは暮らせる家になりましたので、次の作業は地震から受けたダメージの修理ですね。あっちこっちにサイディングの小さいひびなどもありますが、やっぱり正面の窓から始めたいです。
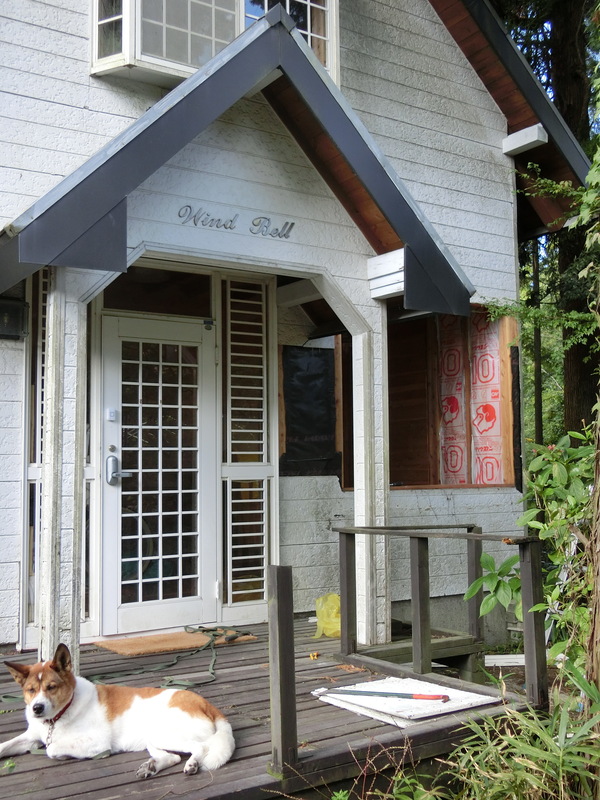
2016年まで染め教室のアトリエでしたが、地震の時に玄関横にある展示窓が爆発したそうです!それからの3年間、窓なしでビニールシートで隠していただけです。嵐の時に強い風と雨がよく入ってきました。2019年家を買ったときに結構悲しい状態でした。
With the bathroom and kitchen both finished, the house was finally liveable, so it was time to move on to the exterior of the house - it was time to fix the 2016 earthquake damage! There's quite a bit of cosmetic damage to the exterior (cracks and broken siding etc), but I think we'll start with the biggest problem....
Until the 2016 quake this house had been a dyeing workshop, and had had a large shop display window at the front. Presumably to display dyed clothes and other products. But the big quake had shattered that window completely, and it was hurriedly patched with a plastic sheet for the next 3 years. Sadly, occasional spring storms had let in some wind and rain, so it was in a pretty sad state when I bought the house in 2019.

▲ まずはひどい天気から家を守りたかったので、シートを取って、仮に板を入れました。
So one of the first things to do after buying the house was to remove the old plastic sheet cover and patch it with some spare wooden boards.

▲ 板の外側にまたシートを張りました。とりあえずこれで行こう!
After some new plastic sheet was wrapped around, it was at least waterproof for a while.

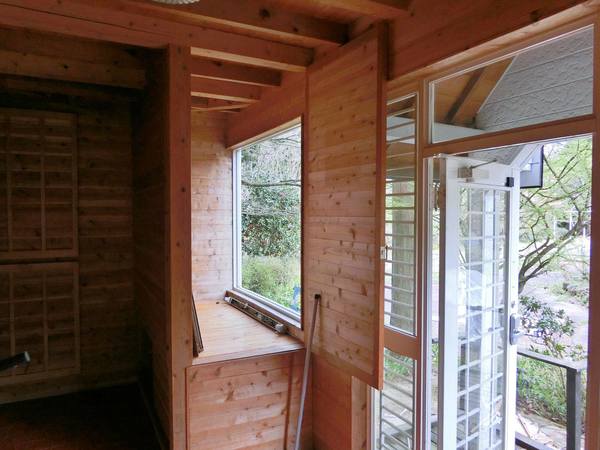
▲ 一年たちましたがやっとエクステリアの修理が始まりました。板を外した時に玄関からの景色がよかったです。阿蘇さんも見えますし、そこに新しい窓を入れ替えます!
Jumping one year forward, and it's finally time to deal with the house's exterior. With the temporary boards removed, the view was actually pretty good, with a fine view of the Aso volcano. So I hatched some big plans to knock out the internal walls of that display cupboard area and put in a large picture window.

▲ 古い展示窓のサッシを外すには、周りのサイディングも外さないとね。めんどくさいけどしないといけない作業でした。
After carefully pulling out the old aluminium window frame, I also had to carefully remove several of the surrounding siding boards. If you don't do that, then it's impossible to waterproof the new window frame!

▲ ここまでサイディングを外しました。いいチャンスだったので、新しい断熱材も入れました。
So while I was pulling off the old exterior boards, I also took the opportunity to fit some new glass-fibre insulation.

▲ この家の窓サッシが面白い形ですけれども、結構高い種類です。80年代の窓サッシにはペアガラスはなかったそうですが、今回ペアガラスしかないみたいです。確かに高いタイプです!サイズはちょっと大きくして、楽天の店から17万円で買うしかなかった。
悲しい買い物ですね!キッチンと大体同じ価格ですが、今回は修理だけです!????
2~3時間ぐらいで自分で組み立てましたが、やはりこんな大きさと重さで一人で運べなかった。近所のShujiさんと一緒にフレームに持ち上げました。Shujiさん、ありがとうございました!助かりました。
Right, onto the new window! The windows of this house jut out about 30cm from the walls, which is quite a pretty window design. Unfortunately it's also a very expensive shape of window, especially since they only make double-glazed versions these days! So this window was ordered from a Rakuten online store for about $1700! That's almost as much as the entire kitchen rebuild cost, but just for a repair job! Oh dear.
It was a fairly easy process to put together the various parts of the window frame kit, just following the paper instructions. It took maybe 3 hours, but then I had to recruit the help of my neighbour Shuji to help me lift the whole thing into the empty window socket. Thanks, Shuji!

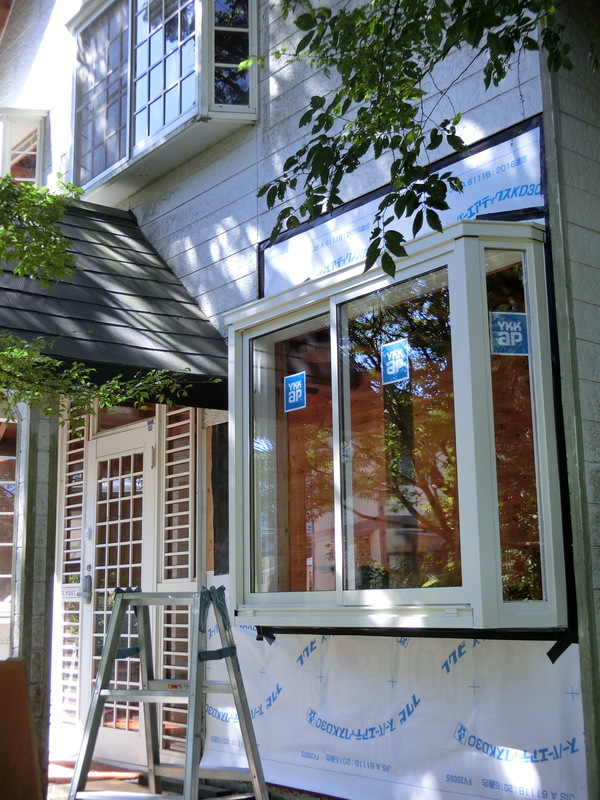
▲ 新しい窓サッシを入れた日の写真です。新しい防水シートとテープで天気から守ります。後はサイディングですね!
2016年からずっと悲しい正面でしたが、やっと家の笑顔が戻せました!
So here's the new super-shiny window, fitted into the front wall of the house. Waterproofing sheets and tape will keep it watertight, and then the only thing remaining is to fit the old exterior boards into place around it.
After 4 long years of neglect, the house has finally regained it's front face again! What a difference!
| << DIY Bathroom #4 DIYでバスルーム FINISHED! 2021-03-04 | Reading nook 玄関で読書スペース >> 2021-03-09 |
〒869-2226 熊本県阿蘇市乙姫2070-48
営業時間:13:00~17:00*
営業日:毎週金曜日・土曜日
(* ドアが閉まっている場合もあります ー 近くにいます。ちょっとお待ち下さい!)


Painted models available 塗装済の模型発売中!
Making garage doors ガレージの扉DIY作成
New side-project... a hobbit house! ホビットの家
Shops added to the shop ショップにお店
Repainting a (mini) car ミニカーのリペイント
Buying land in Otohime 乙姫で土地探し
Scale model of the Inaba Residence 稲葉家下屋敷の模型